DIY: How to Install Rivet Nuts (Nut Inserts) Without Special Tools
Ah, the rivet nut. This handy little fastener was developed by BF Goodrich in 1936 to mount rubber de-icing boots to the leading edge of aircraft wings. Initially they were sold under the trademark name RIVNUT®, but today you’ll find various brands in numerous shapes and sizes as a type of blind fastener. Sometimes they're simply referred to as threaded inserts, or generically as Nutserts® (which is also a trademark brand name).
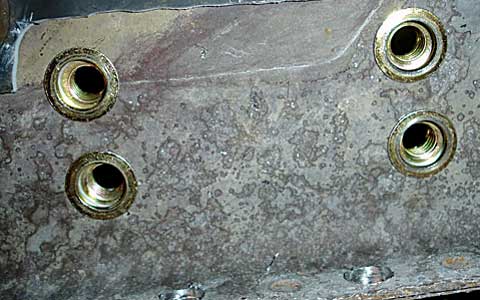
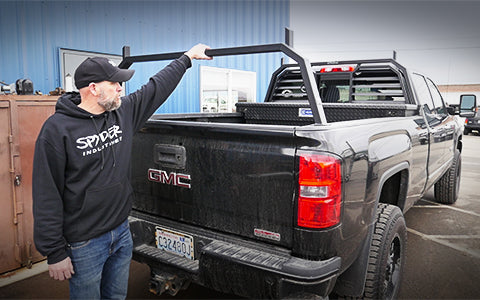
Rivet nuts are often used in thinner gauge materials where strong, load-bearing threads are needed to fasten pieces together or where there’s no access to the back side for a traditional hex nut. At Spyder Industries we use them in the steel tubing of our headache racks for pickup trucks so that you can bolt the adjustable bed rails (or mounts) to the bottom of the rack. Once assembled and properly mounted on your truck, it makes for an extremely strong and rigid installation.
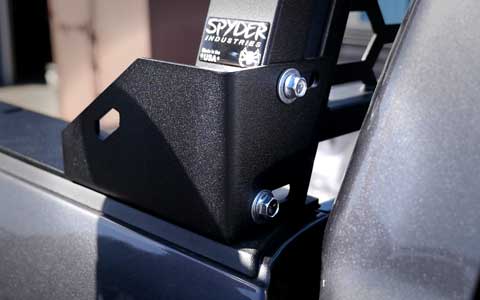
Threaded inserts are used by truck manufacturers in numerous places to attach parts and accessories to sheet metal components. For example, on late model Dodge Ram trucks you might find nut inserts installed by the factory on the back side of the rocker panel for mounting side steps. Our S/I Side Steps for trucks utilize these factory-engineered locations (and others) for easy and secure installation of the steps. Occasionally, the truck may come with holes in the panel but no threaded insert. If those cases, you’ll need to install one or more of the inserts we provide.
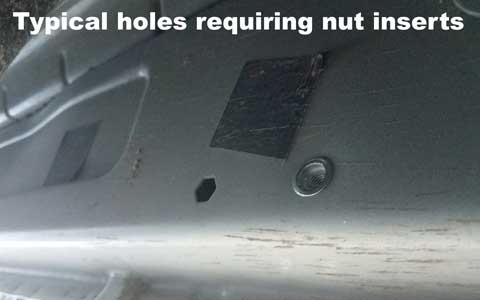
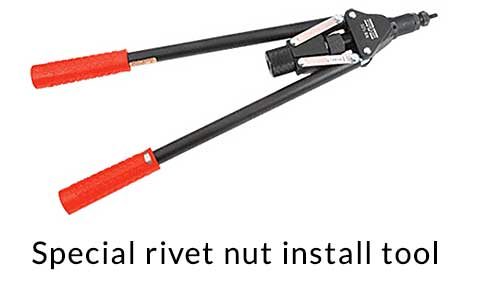
Here at our facility we use an expensive, special tool to quickly install rivet nuts where needed. Unless you plan to install a lot of rivet nuts over time it probably doesn’t make sense to go out and buy a tool to do it. Here, we’re going to show you how to make a DIY tool using a nut, bolt, and two washers found at any hardware store.
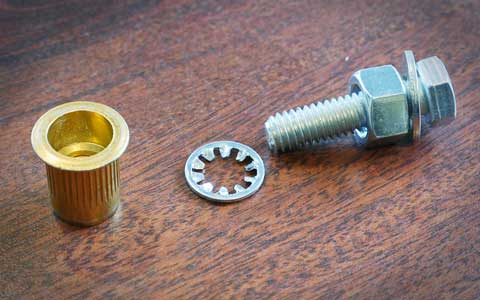
Here's what you'll need make a cheap and simple tool
(1) 1”-2” bolt that is the same size as the threads of the rivet nut.
(1) Flat Washer for under the head of the bolt.
(1) Nut - larger than the bolt threads so it will just slip over the bolt.
(1) Internal star lock washer.
Install the rivet nut...
Push the rivet nut into the hole. A snug fit is better than a sloppy one. This won’t work well if the hole is too big. With your DIY tool assembled in the order described above, thread it into the insert until it bottoms out. Put a wrench on the oversized nut to prevent it from spinning and a socket on the bolt head. Now, while holding the box wrench, start tightening the bolt. This will collapse the rivet nut on the back side and lock it into the hole. There’s no need to go ‘gorilla’ on it, just stop when it won’t tighten any more. If it’s not tightened enough, you risk the nut insert spinning in the hole later – which you definitely don’t want. Now you can just back the bolt out of the insert. You’re done!
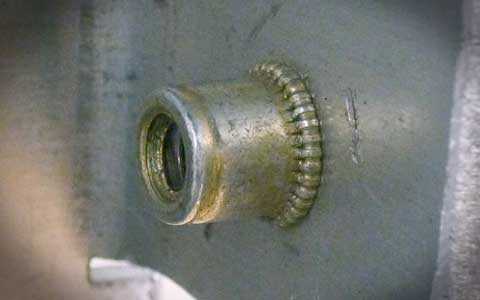
You can use this same technique to install rivet nuts in steel, plastic or other materials where a threaded hole is needed on your truck and other methods of attaching parts or accessories just won’t work. But a picture's worth a thousand words so below is a video demonstrating the steps we’ve outlined. You’ll see just how easy it is to install these specialty fasteners without special tools - it just requires a little DIY ingenuity.


