How to Install Steps for Lifted Trucks
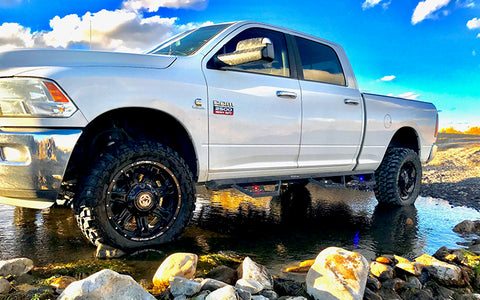
Owning a lifted truck comes with its own set of advantages. A lifted truck gives you increased ground clearance and the ability to cross obstacles that would stump other vehicles, and a better perspective of the road around you. Plus, lifted trucks just look cool. But, as any lifted truck owner can tell you, those benefits don’t come without a cost. Getting in and out of one isn’t always easy and the climb, for some, can be awkward, if not an outright chore!
Fortunately, there are plenty of aftermarket accessories designed to make accessing the cockpit of your truck nearly as easy as slipping behind the wheel of the average sedan. Side steps for trucks are available on the market in a variety of shapes and styles. You’ll typically find simple hoop steps, nerf bars, and running boards that all make getting in and out of your truck easier – but many are not without their disadvantages.
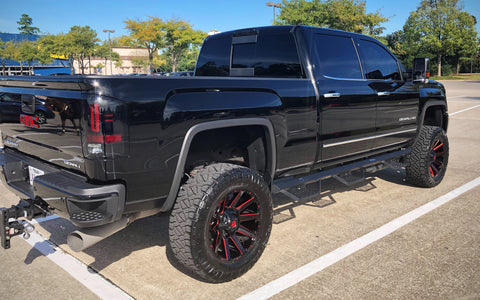
Side steps by Spyder Industries are unique in many ways – not only in design and appearance but in construction. The main heavy wall steel tube is tucked up close to the body for a sleeker look that still offers valuable protection to your rocker panels. Unlike flat running boards that can get smashed or bent in a low-to-no ground clearance situation, ours can glide over or slice through obstacles. The ‘dropped’ part of the steps are available in two pad sizes, depending on your preference and our triple step configuration offers easier bed-side access which is particularly handy with lifted trucks.
In most cases, installing the best steps for lifted trucks is easy enough that you can do it yourself, without the help of a professional. Read on to learn how you can enjoy the benefits of side steps on your lifted truck with quick and simple do-it-yourself installation.
Proper Fit and Mounting
Spyder Industries side steps are tailored to fit specific truck models in both length and step location. While the steps themselves appear the same, the mounting brackets are unique to each truck. Rather than bolting the brackets to the truck chassis (which would require very long, bulky pieces) we’ve designed our steps to use the same mounting location the truck manufacturers have engineered for OEM steps. Using existing factory holes found in the rocker panels, cab structure, and pinch weld (combined with our beefy ¼” thick steel brackets) make for a very sturdy and flex-free installation.
Check the Package
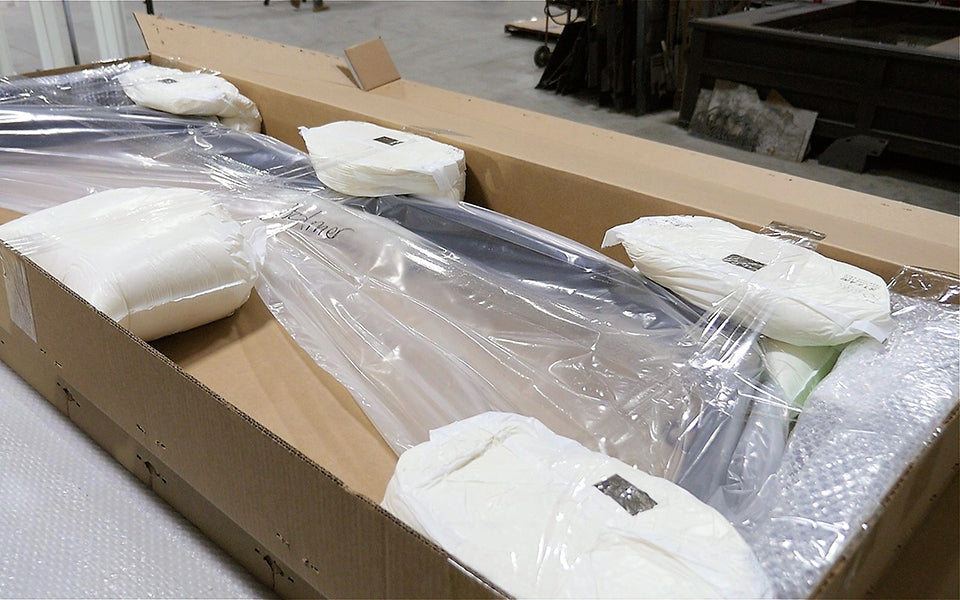
Before you set aside time to install your side steps, open the package and find the instructions (or download them here). Make sure you can account for all the boxed/bagged parts and fasteners detailed in the instructions. Since some pieces are driver and passenger side specific it might help to lay out the parts in their approximate location next to the truck. You can set them on a layer of cardboard or blankets for protection.
Be Safe
Safety is a concern when working on any vehicle so be sure to take a few basic precautions. If you must jack the truck up to gain access, use proper stands to support the vehicle. In some cases you should chock the wheels to prevent accidental rolling. Wear eye protection to keep dirt and crud from invariably landing in your eyes. Don’t do drugs or alcohol. Consider a fresh pair of clean underwear in the unlikely but possible event something goes horribly wrong. This could help save some embarrassment when the paramedics arrive. (Okay, those last couple of tips were just to get your attention. But seriously, it pays to be safe and prepared).
Need a Hand?
The first step will be to install the mounting brackets to the truck. This is easily a one-person job but two people can speed things up. Either way when the time comes you’ll probably want a second pair of hands to help lift the steps into place and install the remaining nuts and bolts by hand. It’s not rocket science and if your helper can lift a few pounds and remember righty-tighty, lefty-loosey, they’re qualified for the job.
Mount the Brackets
Your truck will have some combination of holes (possibly even threaded) that’ll be used to attach our brackets using the supplied hardware. It varies from truck to truck but will involve removing rubber plugs, installing clips, and so forth. When those are in place, you’ll hang each bracket loosely with the fasteners just finger tight for now. Some brackets consist of two pieces so a little extra assembly may be required.
Attach the Steps
Once you have the mounting brackets in place (and with some help) simply lift the steps into position and secure them to the brackets using the nuts, bolts, and washers provided. (TIP: Slip the large bolts through the holes in the step first before lifting it into position). Since everything was assembled a little loose with the fasteners only finger tight, you’ll have some adjustability. Adjust the height of the steps to your liking and start tightening bolts with a wrench. And that’s pretty much it. You’re ready to enjoy your new side steps! As an extra safety measure check all the fasteners after a week of driving to make sure everything is still tight.
Side steps can make a big impact on the ease of entering your lifted truck. Even a moderately handy truck owner can install our side steps without any special tools or skill, saving time and money. Learn more about Spyder Industries S/I Steps for lifted (or stock height) trucks here.
And here's a video demonstrating how to install a set of our triple steps on a late model Dodge Ram...


